Modifying a 2003 Mitsubishi Montero for Vehicle-Based Adventuring
Rocky Road Outfitters Rock Sliders
Get link
Facebook
X
Pinterest
Email
Other Apps
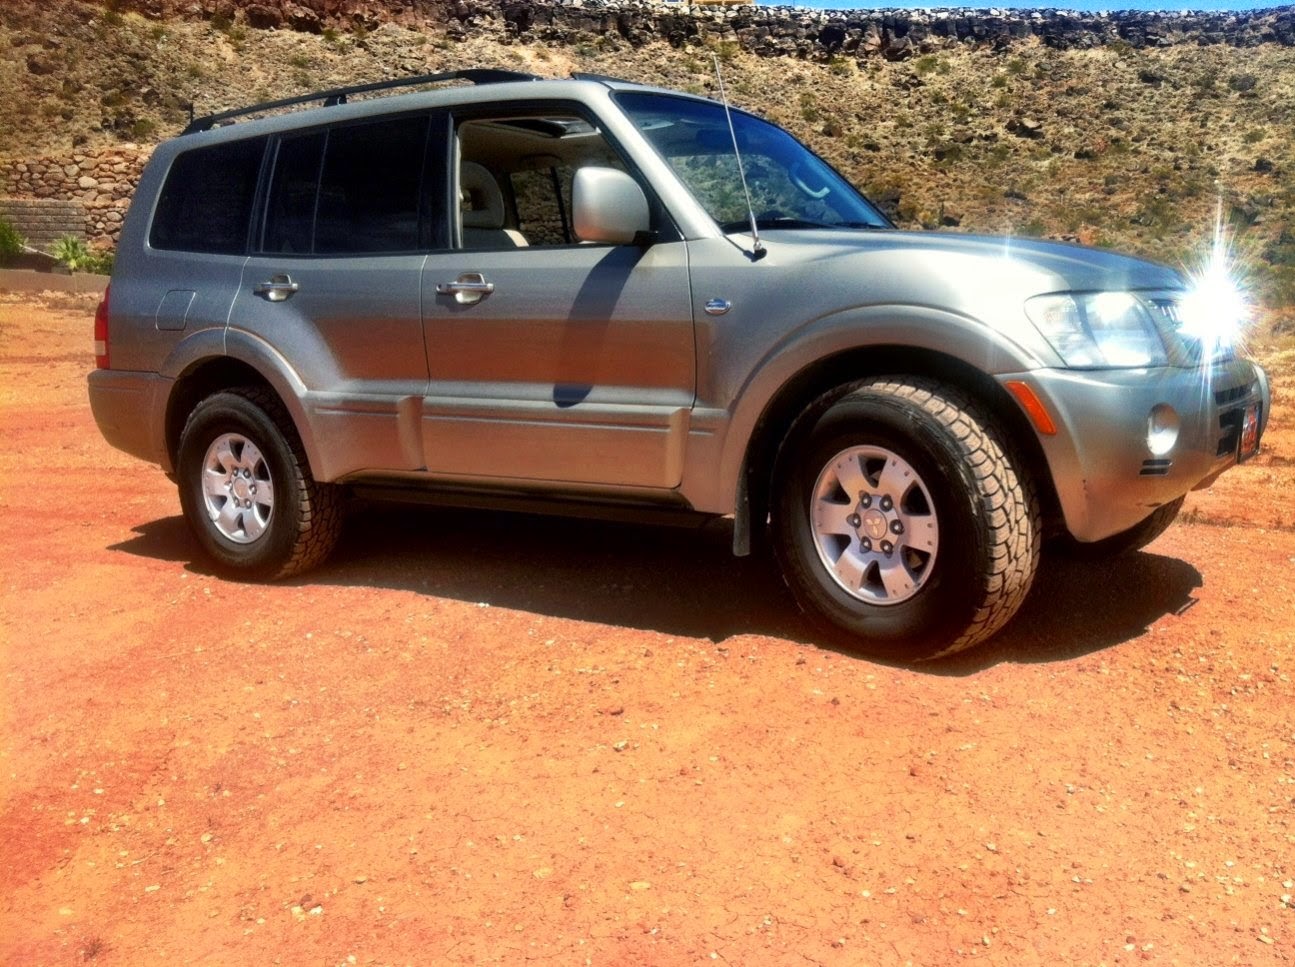
With the running boards removed the sills and rocker panels are vulnerable to damage from high centering. Rocky Road Outfitters in Heber, Utah, make a stout pair of rock sliders for the Montero.
Having driven my share of westward returns at golden hour I've wanted to black-out the hood getting rid of that double whammy reflection. The contour of the Gen III's hood lines flow nicely to the grill leaving the popped round fenders to flank the black, framing it up nicely. But I wanted to break up the mass of the black with a graphic, deciding on the Dakar logo to tie in the badges I added. Here's how I did it: I googled the graphic and projected it on a wall where I hung some newsprint. I traced the logo... ...and cut it out of the newsprint creating the template. I taped the template to the hood and masked the exposed area... ...and then trimmed the mask through the template. I masked the rest of the hood and removed it, suspended and shot it with Dupli-Color flat black trim paint, three coats. Peeled off the masking. And this is the result. I also shot the rest of the grill to blend the lines form the hood. I had previously painted the grill inse...
I pulled off the plastic body cladding and decided to coat the exposed area with a bedliner, Duplacolor's Bed Armor with Kevlar. Got the kit on sale at Autozone for $75. To prep out, I thought I'd fill the holes left by the cladding. I ground out and reamed each with a Dremel tool. Filled each hole with a fiberglass filler. Use this sparingly to save yourself an enormous amount of sanding. It's been too long since I've done body work, and trying to beat the setting filler I got sloppy. Sanded down the excess and found that some took... and some didn't. I filled those that didn't with a Bondo filler, and sanded it down after setting. 80 grit. I didn't finish-sand knowing the liner would make it a moot point. I had sanded enough. After cleaning everything up, I masked the bodywork and removed the bumpers. I was sure to mask interior lines as well. I shot the grill and the driving light holes with the same bumper-black I used on the uppe...
The main modification I've been waiting to do is an Old Man Emu suspension upgrade giving the Monty the lift it needs, not easy to come by since it ships from Australia. I measured wheel well and ground clearance. Thirteen inches from the ground to the rock sliders and three inches in the wells. I began with the front, removing the battery and tray on the driver side and the air box on the other, making access to the three nuts on top of each strut tower. Next it's necessary to remove the top A-arm. Remove brake and traction-control lines from the support on the arm. I then used a breaker bar and a 22mm socket to free the bolts for the A-arm and the strut tower mount and then removed that assembly. I disassembled the strut assembly using spring compressors to take the load off the top of the strut tower, allowing its removal. I kept track of the order of the strut hardware for reassembling the new strut and spring components. To do so, the new spring needs to be ...