Posts

Featured Post

Genesis III

Image
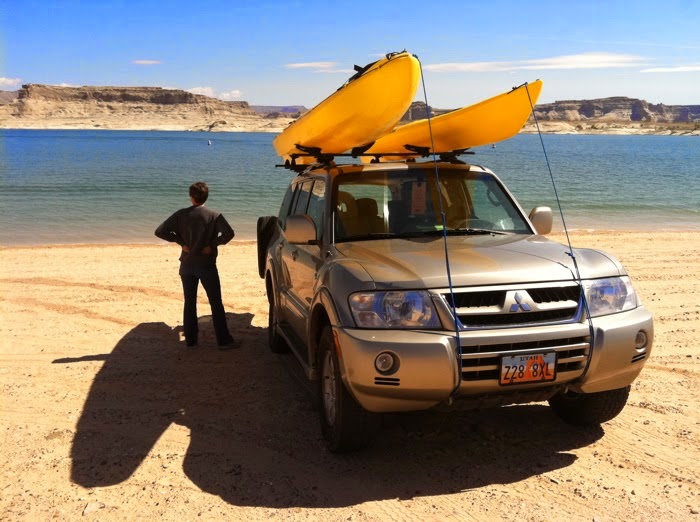
This is what we started with, an '03 Montero Limited we bought to replace our previous land barge, an '07 GMC Yukon, used to haul around four teenagers and one pre-teen. Four have since flown the coupe so we downsized three years ago to the Monty. This is a third generation for this model, with generations I, II, and II.5 being formidable platforms for vehicle-based adventure. Being an avid follower back in the day of the Paris/Dakar when it actually went there, I became a fan of the Gen III, and, granted, what remains factory in that competition is minimal, the performance and durability of the Gen III's platform won me over. I've owned two, my first an '01. The main issue with the Gen III is there's very little aftermarket support. It thrives as the Pajero in Asia, Australia and Europe, but fizzled here in the States. Mitsubishi missed the marketing train on the Paris/Dakar victories, an opportunity to position the Montero nicely against British and

Exterior Mods

Image
I pulled off the plastic body cladding and decided to coat the exposed area with a bedliner, Duplacolor's Bed Armor with Kevlar. Got the kit on sale at Autozone for $75. To prep out, I thought I'd fill the holes left by the cladding. I ground out and reamed each with a Dremel tool. Filled each hole with a fiberglass filler. Use this sparingly to save yourself an enormous amount of sanding. It's been too long since I've done body work, and trying to beat the setting filler I got sloppy. Sanded down the excess and found that some took... and some didn't. I filled those that didn't with a Bondo filler, and sanded it down after setting. 80 grit. I didn't finish-sand knowing the liner would make it a moot point. I had sanded enough. After cleaning everything up, I masked the bodywork and removed the bumpers. I was sure to mask interior lines as well. I shot the grill and the driving light holes with the same bumper-black I used on the uppe

Seller's Remorse

I was perusing the car ads on a website and came across this same Montero; color, package, interior, everything. And, almost as a reflex, I found myself posting my H3 for sale so I could indulge my Montero enthusiasm once again. Hindsight being 20/20, I wish I had never parted with this beast.

Middle Seat Mod

Image
After several hundred miles of traveling and camping with two Golden Retrievers, the non-functioning 60/40 middle seat became problematic. It took up too much space while providing little space in which Ginger and Mary Ann could get comfortable. It also encroached on cargo area, requiring some of our long and narrow kit to go up on the roof, like the double cot, tent pegs and table. Add that we rarely have passengers in that space, it was time to make a change. There's a cable that attaches to a mechanism inside the middle bench that when deployed allows the bench to fold down and forward creating more cargo room. This cable on the 60 section has busted twice on us, debilitating the seat. I removed it by dismantling it from the hardware on its flanks giving me access underneath the seat bottom to the mechanism that releases it from its mount on the floor. Not the smartest thing to do in 105 degree heat, but it's out. I also removed the 40 seat - piece of cake on that one.

Old Man Emu HD

Image
The main modification I've been waiting to do is an Old Man Emu suspension upgrade giving the Monty the lift it needs, not easy to come by since it ships from Australia. I measured wheel well and ground clearance. Thirteen inches from the ground to the rock sliders and three inches in the wells. I began with the front, removing the battery and tray on the driver side and the air box on the other, making access to the three nuts on top of each strut tower. Next it's necessary to remove the top A-arm. Remove brake and traction-control lines from the support on the arm. I then used a breaker bar and a 22mm socket to free the bolts for the A-arm and the strut tower mount and then removed that assembly. I disassembled the strut assembly using spring compressors to take the load off the top of the strut tower, allowing its removal. I kept track of the order of the strut hardware for reassembling the new strut and spring components. To do so, the new spring needs to be

Hood Black-out and Dakar Logo

Image
Having driven my share of westward returns at golden hour I've wanted to black-out the hood getting rid of that double whammy reflection. The contour of the Gen III's hood lines flow nicely to the grill leaving the popped round fenders to flank the black, framing it up nicely. But I wanted to break up the mass of the black with a graphic, deciding on the Dakar logo to tie in the badges I added. Here's how I did it: I googled the graphic and projected it on a wall where I hung some newsprint. I traced the logo... ...and cut it out of the newsprint creating the template. I taped the template to the hood and masked the exposed area... ...and then trimmed the mask through the template. I masked the rest of the hood and removed it, suspended and shot it with Dupli-Color flat black trim paint, three coats. Peeled off the masking. And this is the result. I also shot the rest of the grill to blend the lines form the hood. I had previously painted the grill inse