Posts

Driving Lights

Image
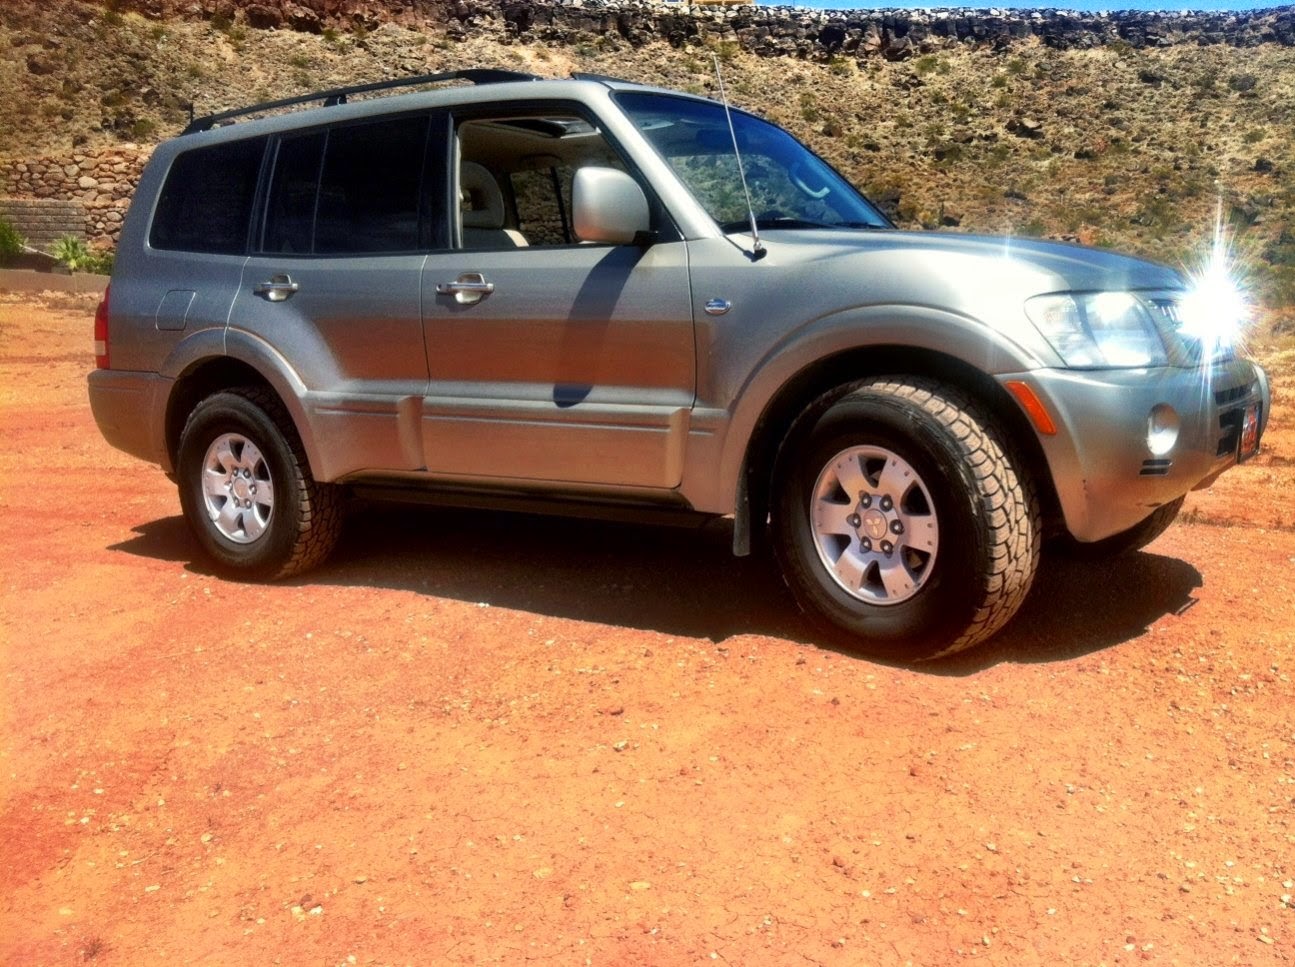
Since I trashed the driver's side driving lamp on the Three Hour Tour , I've been looking for a replacement alternative to OEM. Prices were outrageous, at least for me, to go stock or upgrade, either way I was looking at $300+. So I rolled the dice and ordered a pair of Montero Sport driving lamps, under $75 for the pair and engineered a new mount for the lamps. I removed the factory frame along with the connectors, since the Sport connectors don't match the Montero's factory harness, go figure. I fed the lamp housing through the front of the openings in the bumper and used steel strapping to create a frame with which they were mounted. I eye-balled the beam path, measuring lamp centers. I later tweaked height with an adjustment of what's left of the lower bumper, creating an adjustable strut that pulls the lower part of the bumper in. Since I had the bumper off I picked up a pair of Hella 550 FFs and installed them. Passed the shake and rattle test. ...

Hi-Lift Jack Mount

Image
A change in our camping setup along with the added rigidity of a roof rack mod got me to consider an alternate spot to mount a Hi-Lift. Before I had it mounted on a pair of Thule load bars, but in their absence since I won't be using the RTT, I created a mount on the factory rack using a pair of QuickFists following their instructions on how to use them for this purpose. I drilled out the the holes in the QuickFists with a 3/8" bit. I measured the jack and decided on a 34" center that would allow the jack to mount through the holes on the ladder. With that measurement, I drilled two 3/8" holes, 34 inches apart on the passenger side roof rack, perpendicular to the side making it exit at the angle of the rail. I inserted a 3" 3/8-16 bolt from the underside so the threads were pointing out of the rail. Anything longer than a three inch bolt will not clear the roof to access the hole. The QuickFists were mounted on the bolts, along with four washers, a loc...

Roof Rack

Image
I've considered alternate roof racks but for the time being want to put the serious money into suspension and recovery. The stock rack has served its purpose fine with a Thule system that holds the RTT and awning, but I want a tray in between the stanchions to hold other recovery and camping gear. To this end I removed the headliner. It's pretty straightforward, removing all the hardware of grab handles, interior lighting modules, sun visors, etc. The only hang up is in removing the sun visor clips with tabs that tend to break easily. Remove the weather stripping on all doors. The A-pillar covers snap out being careful to keep retention clips in place, and second row seatbelt mounts on the B-pillars need to come off to remove the covers. The rear covers that surround the wing windows between the C and D-pillars snap out, again being careful to keep the retainers in place. With the headliner free, the last step is to remove the electrical connection from the sunroof j...

Rocky Road Outfitters Rock Sliders

Image
With the running boards removed the sills and rocker panels are vulnerable to damage from high centering. Rocky Road Outfitters in Heber, Utah, make a stout pair of rock sliders for the Montero.

PanaVise for iPad

Image
We use a topo map application loaded on an iPad on our trips and have wanted to mount it. I use the iPad everyday so I needed a way to be able to install and remove it easily, which won't be often since we'll just be using it on the trail. The other criteria to this little project; I'm cheap. From our local emergency vehicle supply store I found a PanaVise mount at $29. From Lowe's I sourced a 4x5" tin plate and industrial Velcro for under $6 and put this together. It's been rock solid. Just below is the CB install that went in about a year ago. Used along with a Garmin GPS and the pictured iPhone with the Tiltomter app we can navigate with updated USGS maps pinpointing our location without wifi or cell signal.

Rear Door

Image
The rear door storage on the '03 Gen III Montero doesn't serve much purpose save for a poorly designed way to stash headrests from the third row seat and a narrow but deep pocket for stowage of small items. I have a few Pelican cases no longer being used, so I thought to adapt a small case, the Pelican 1400, using it for a first aid supplies container, installing it onto the door replacing the pocket. While at it I picked up some Quick Fists to mount an ax, using the door pull hardware, where it'd be readily accessible. I completed the door modification by adding two more QuickFists to hold a collapsable shovel, along with an ARB flat repair kit that fit well into the space with more velcro to prevent rattling around. A Maglight and a fire extinguisher round out the job. A year after this mod, we've been for want of a work surface, a place to make lunch and such while on the road without much set-up when we stop. After the above mod, I saw that there's roo...

Tires

Image
The first Montero mod were H&R 30mm spacers on all four corners widening the track and filling in the wheel wells a bit better, along with updated rubber, Cooper Discoverers ATP plus one in size. A couple of years later, and after a suspension mod I nounted 33" Big Horn Mudders from Maxxis. This was a test-run with the Big Horns before the OME suspension.